Showing posts with label Baked Tofu. Show all posts

Friday, February 2, 2018

Finger Food!

Say whaaaa? We gotta cook again?
Nahhhhhhhhh. 

Don't feel like cooking but the Superbowl is swooping down on you like Challenger the Eagle?

Image result for eagles logo images

Try you some Veggie Fingers!

They are even good for dinner with mashed potatoes, lol. 


As a finger food, they are really good hot or cold served with dipping sauces of any ilk. And, surprisingly, they are not terribly messy.

Note: You can use any roast-able vegetable here: broccoli, cauliflower, carrots, sweet potatoes, whatever. Cooking time may be a bit longer for carrots/potatoes/root veggies. Just check them at the 20 minute mark and see if they are done, if not, let them go longer.

Veggie Fingers 
(Tofu and Broccoli here, but, feel free to go crazy!):

1 bunch of broccoli (or like 2-3 cups or so of your veggie "fingers" of choice) cut into florets or, um, "fingers"

1 brick of tofu, pressed and sliced into "fingers" 
(or whatever shape you want)

1 1/2 cups non-dairy milk (any kind, full fat is better)

3-6 Tablespoons garbanzo bean (chickpea) flour

1 box of Shake'N Bake (several varieties are vegan) OR about 2-3 cups Panko or other breadcrumbs mixed with any seasonings you dig (onion powder, garlic powder, salt, nutritional yeast, herbs/spices, whatevs)

few teaspoons of oil (neutral or olive) to grease pan.
-------------------------------------------------------------------------
Method:

This is really just breading some stuff and baking it in a hot oven, guys. Make anything a "finger!"

1. Preheat your oven to 425 degrees. 

2. Prepare a baking sheet with foil and spray the foil with a light coat of oil (I use a Misto sprayer) or just brush some oil on there.

3. Whisk chickpea flour into non-dairy milk until a reasonably thick batter forms. Thinner milks will take the higher amounts of flour, use more if needed. You don't want it too thick or too thin, so add a tablespoon at a time until you get it to coat the back of a spoon, i.e, it needs to stick to your veggies and your tofu but not be super thick :). What I like to do is pour the milk into a jar or tupperware with tight lid, stir in your chickpea flour, close the lid and shake until well combined. Otherwise, use a bowl and whisk in with a fork or whisk. You can season this, too, if you want, but I didn't. 

4. In a medium tupperware with a good lid, put your broccoli florets (all of mine fit in this one, but if yours don't, just do two or more batches) and pour some of the batter over them, I'd say about half the batter, start with less, you can always add more. 

Now, put the lid on and shake and turn gently until all your broccoli is evenly coated.

Like so.

5. Put some Shake'N Bake (or your homemade Panko or breadcrumb mix) in a bowl and coat each bite/finger:

Like so. I'd use a lighter coating than this next time. Shake'N Bake is pretty heavily seasoned!

Arrange the broccoli on the prepared baking sheet.

6. Now, batter and bread the tofu fingers. I battered the tofu individually rather than use the shake-to-coat technique since I thought it might break up if I did that. I just poured the rest of the batter into the same tupperware the broccoli was in and used a fork to turn the tofu fingers in it. Then transfer each finger to the Shake'N Bake or Panko mixture and coat. 
Arrange the tofu on your baking tray. 

I fit everything on one tray.

7. Bake at 425 for about 20 minutes. 
I didn't flip mine, but you can if you want. Mine were done at the 20 minute mark, but if you use other vegetables, they may need a little longer. Keep an eye out to not burn the breading!

Serve! 
I ate mine for dinner, lol, but these are a great appetizer. 
You can serve them with any kind of dipping sauce: Sriracha mayo, mustard, ketchup, dressings, hot sauce, even mushroom gravy or marinara would be good, whatever you dig. Or, just eat them plain. 

They are good at room temperature and don't seem to suffer for it.

Oh! And while your oven is still at 425...if you feel like it, throw in a batch of:

Roasted Chickpeas!
YUMMMMY. 
This is just cooked or canned (rinsed and drained of course) chickpeas mixed in a bowl with a little oil and any spices or seasonings you want (tamari, nutritional yeast, onion/garlic powder, spices/herbs, lemon juice, add a little agave, whatever!). Now, stick them in that same oven you just used on a foil lined, lightly oiled baking tray. Roast about 20-25 minutes at 425. Stir halfway through. YUM.

You can also make anything else, really, lol. 

Chips/Dips/Salsa (of course)
Veggie dogs or veggie "pigs in a blanket"
Veggie Burgers (homemade or pre-made)
Veg Onion Dip (vegan sour cream with a packet of Onion soup in it)
Crudites, cheeses, olives, etc.
Pizzas, pasta salads, sandwiches...

You can basically make (or buy) an awesome vegan version of anything the omnis are chowing down on!
 Just give it a look up on the ol' internet.

 Vegan versions for the win! :) 


What are you going to serve at your Superbowl 
(or anti-Superbowl) party??

Image result for eagles logo images
Yeah, uh, Eagles are probably going to get crushed. At least they went to heaven? Lol. 


P.S. The Veggie Fingers make an outstanding burrito!

Yet another incarnation (choice language, lol) of the Veggie Finger. Highly recommend.


Sunday, March 31, 2013

Holiday Ham'fu Roast and Lemony Asparagus

I had no idea what I was making with potato "eggs" and my Lemony Asparagus for Easter until I was cooking them today! Then, a question...would it work to roast a whole block of tofu like a ham...with a smoky, pineappley glaze?  Oh yes! Yes, it works, and yes, it's delicious!  Here's the recipe, guys and I have to say, it was really good and has a very fun presentation.  I'd make one roast per every two hungry guests.  You can do a bunch of them in a big roasting pan, no problem. Double, triple, or quadruple the recipe below and just use a big enough roasting pan for however many roasts you require.   

Holiday Ham'fu Roast!

Holiday Ham‘fu Roast 
This makes one ‘fu roast.  Double, triple, etc. as needed!

Ingredients:
½ cup pineapple juice (basically all the juice from a can of pineapple slices)
2 T. Tamari
2 T. Vinegar (I used Rice Vinegar)
2 T. Packed Brown Sugar
1 T. Texas Pete Hot Sauce
Dash of liquid smoke or a good sprinkle of smoked paprika, smoked salt, or whatever “smoky” ingredient you like.
1 T. Nutritional Yeast
1 tsp. Breakfast Sausage Seasoning (Penzeys)
Sprinkle of Onion powder (I would have put more but it was an afterthought).
One block of extra firm tofu, drained and “lightly” pressed*
*You don’t want to press the heck out of this or your presentation and roast will suffer, about 20 minutes should do it (I use a TofuXPress).
A few pineapple slices

Method:
First, make some marinade holes! Using a metal skewer, poke holes through the center of the tofu, all the way through, to produce two parallel rows of holes along either the length or width of the tofu (doesn’t matter) .  See photo.  Twist your skewer so that it expands the holes a bit.  If you’ve got a flavor injector, you can just inject the marinade instead of making these holes.  I couldn’t find mine!
Keep making the holes all the way across, about every centimeter or so.  
Then, make another row about a centimeter below that one. 

Now, score the tofu as you would a ham, cutting almost to the bottom of the ‘fu (but not through it!) to create spaces for the marinade to really get into the ‘fu!  
If you look closely, you can see the two rows of marinade holes here, too.

Carefully transfer the scored tofu roast to its marinating container.  I used the TofuXPress for this, too, as it is the perfect shape to allow the marinade to get all the way up and into the loaf.  Cover with the marinade.  Marinate for an hour or up to overnight.


Of course, you can always just slice your ‘fu however you like and marinate and bake the slices! 

Top your roast with a pineapple slice! Bake your Ham'fu roast at 375 for about 45-60 minutes, basting every 15 minutes or so.  Some of the marinade will get absorbed by the ‘fu and the remaining marinade will thicken up into a nice glazy sauce.  When the ‘fu is roasty and has nice brown edges, and the sauce is reduced by about half or more, your ‘fu is done!
This roast is almost done!

Serve with the reduced glaze sauce, potato “eggs” (or just some mashed potatoes!) and Lemony Asparagus.  I modified Joni Marie’s Potato Mochi recipe from her new vegan fusion book, then shaped them like eggs before sautéing.  Super yum!


This was deeelish!

Lemony Asparagus is just fresh asparagus spears sautéed for about 12 minutes over medium heat (in a cast iron pan) in some olive oil and rosemary salt.  The juice of one organic lemon is added at the end to steam the asparagus a bit.  Cover your pan for the last minute or two after adding the juice.  Serve with more salt, pepper and organic lemon zest.  You can roast the asparagus in the oven, too, if you want.  It takes about 25 minutes if you put it in with the ‘fu, just drizzle with olive oil and sprinkle with salt and lemon juice.

Quick pics of Lemony Asparagus:
 Just hit the pan, almost raw.

 After about five minutes or so, it's taken on that gorgeous bright green color!  

And after the full 12 minutes, here they are, fully adorned with lemon zest and rosemary salt:
Lemony Asparagus

Hope you all had a wonderful day!  Happy Spring!

Sunday, March 10, 2013

Vegan Fazool's School: The First Class

Here's the reason I haven't been blogging since my birthday:

My first class!  

I hosted a demonstration style vegan cooking class/cashew cheese and wine party for some interested friends yesterday and it was so much fun!  
I have been working on it for the last month.

From left to right: my awesome neighbors Lorraine & Pete, my sweet, social worker friend Jeannie, my friend Jane the Guerrilla Gardener of South Philly and Roof Meadow Marketing Master  (standing, she was also my volunteer videographer! Thanks, Jane!), my friend and amazing Philly Realtor Brooke (standing), Jeannie's enthusiastic vegetarian friend Amanda (seated) and Brooke's friend Brook :-) who was inspired to make some vegan cheese with my to-go rejuvelac!

They are the members of my first class in Vegan Fazool's School!  

We started with a wine reception and vegan hors d'oeuvres featuring some amazing handmade vegan cashew cheeses from Artisan Vegan Cheese:
This is a (slight) variant on Miyoko's amazing Goat-Cheese Style Cashew Boursin.  
I used a pound of organic basic cashew cheese, the parsley, 1 T. of nutritional yeast, 2 garlic cloves, 1 T plus 1 tsp minced fresh tarragon, 2 tsps minced fresh thyme, 1 tsp Kosher salt, and 1 tsp fresh marjoram.  It was everyone's favorite!

Here it is in progress, look how gorgeous and creamy the basic cashew cheese looks after culturing:
All fluffy and delicious!

Here were the rest of the vegan hors d'oeuvres:
Fresh grapes, assorted olives (Wegmans olive bar!), Cashew Boursin, Cashew Soft Gruyere (I forgot to line the mold, so that's why it's in it's crock!), and vegan crackers (club crackers, Wegmans vegetable crackers and TJ's flax water crakers).

The Syllabus:

Recipes:
Simple Sautéed ‘Fu, Baked Marinated ‘Fu and Korean Fresh Noodle Salad.  
We also learned both marinades:
The Sweet and Spicy Marinade and Dawn's Easy Asian Dressing 
(for the Korean Fresh Noodle Salad). 

Techniques:
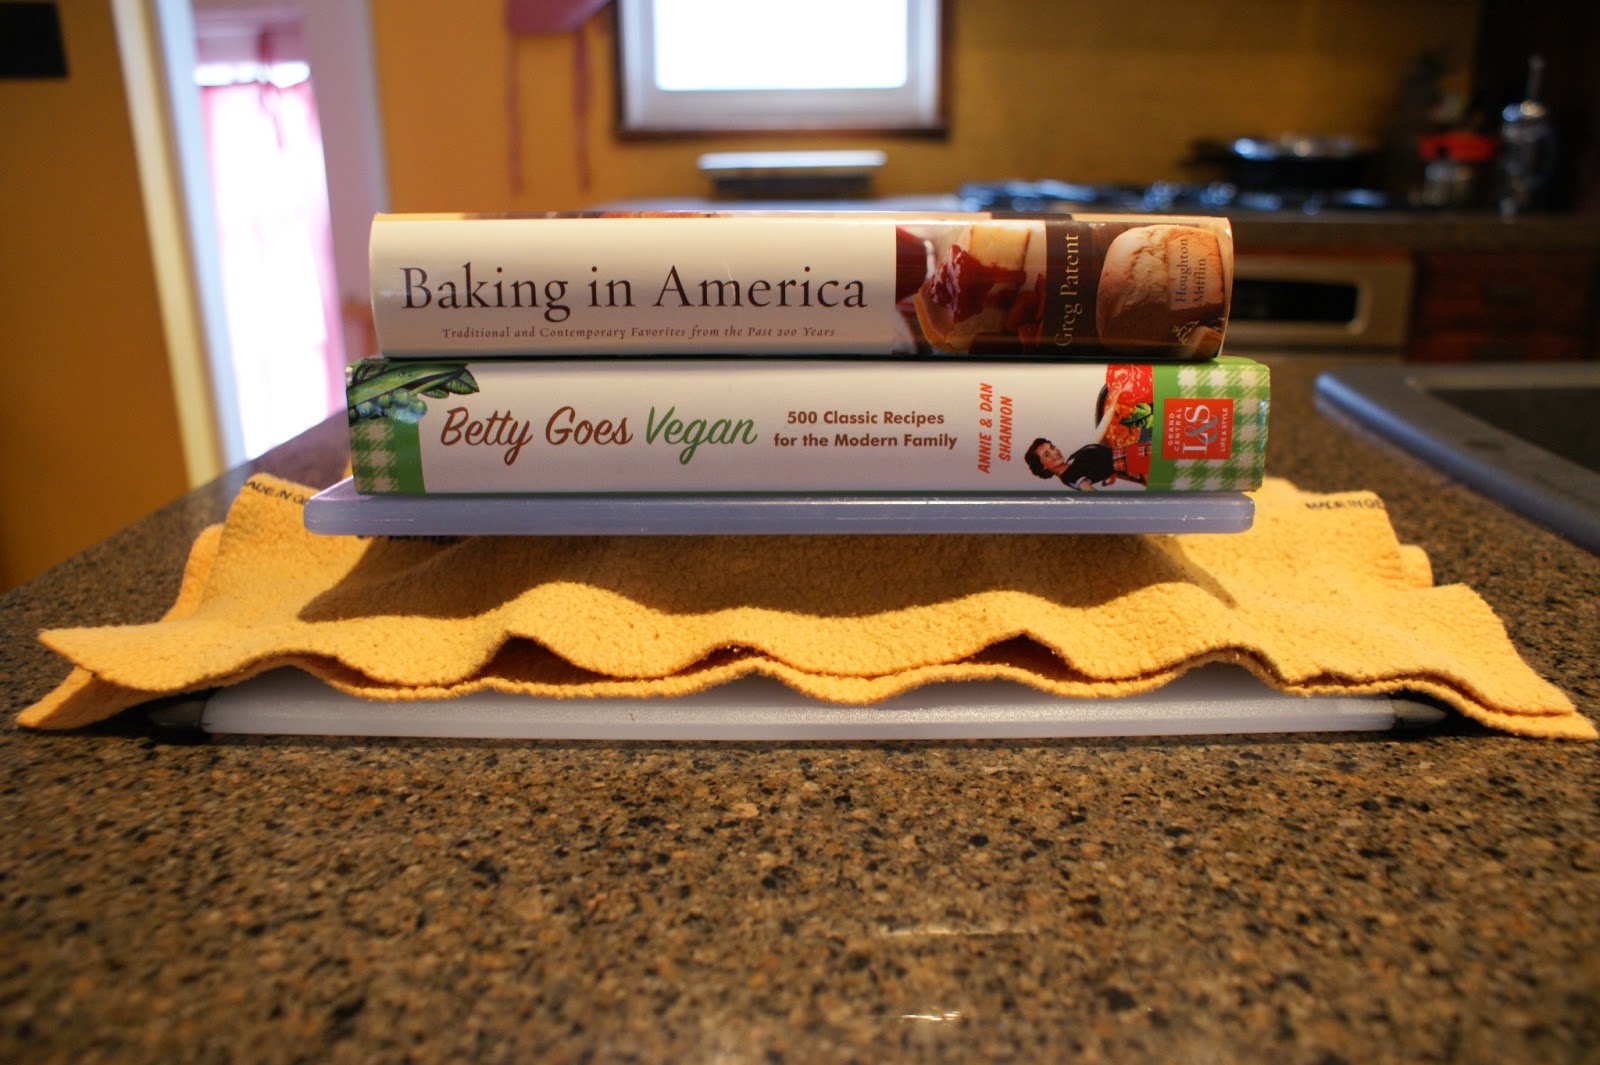
Properly Pressing Tofu (with and without a tofu press)
Using Cast Iron Cookware


And a Vegan Food Tasting: 
Vegan Chocolate Chips!

*Recipes, Techniques and Tasting Posts Coming Soon!* 

And, Jane took a lot of video, which I will try to edit and post soon as well!  Thank you so much, Jane!

Recipes:

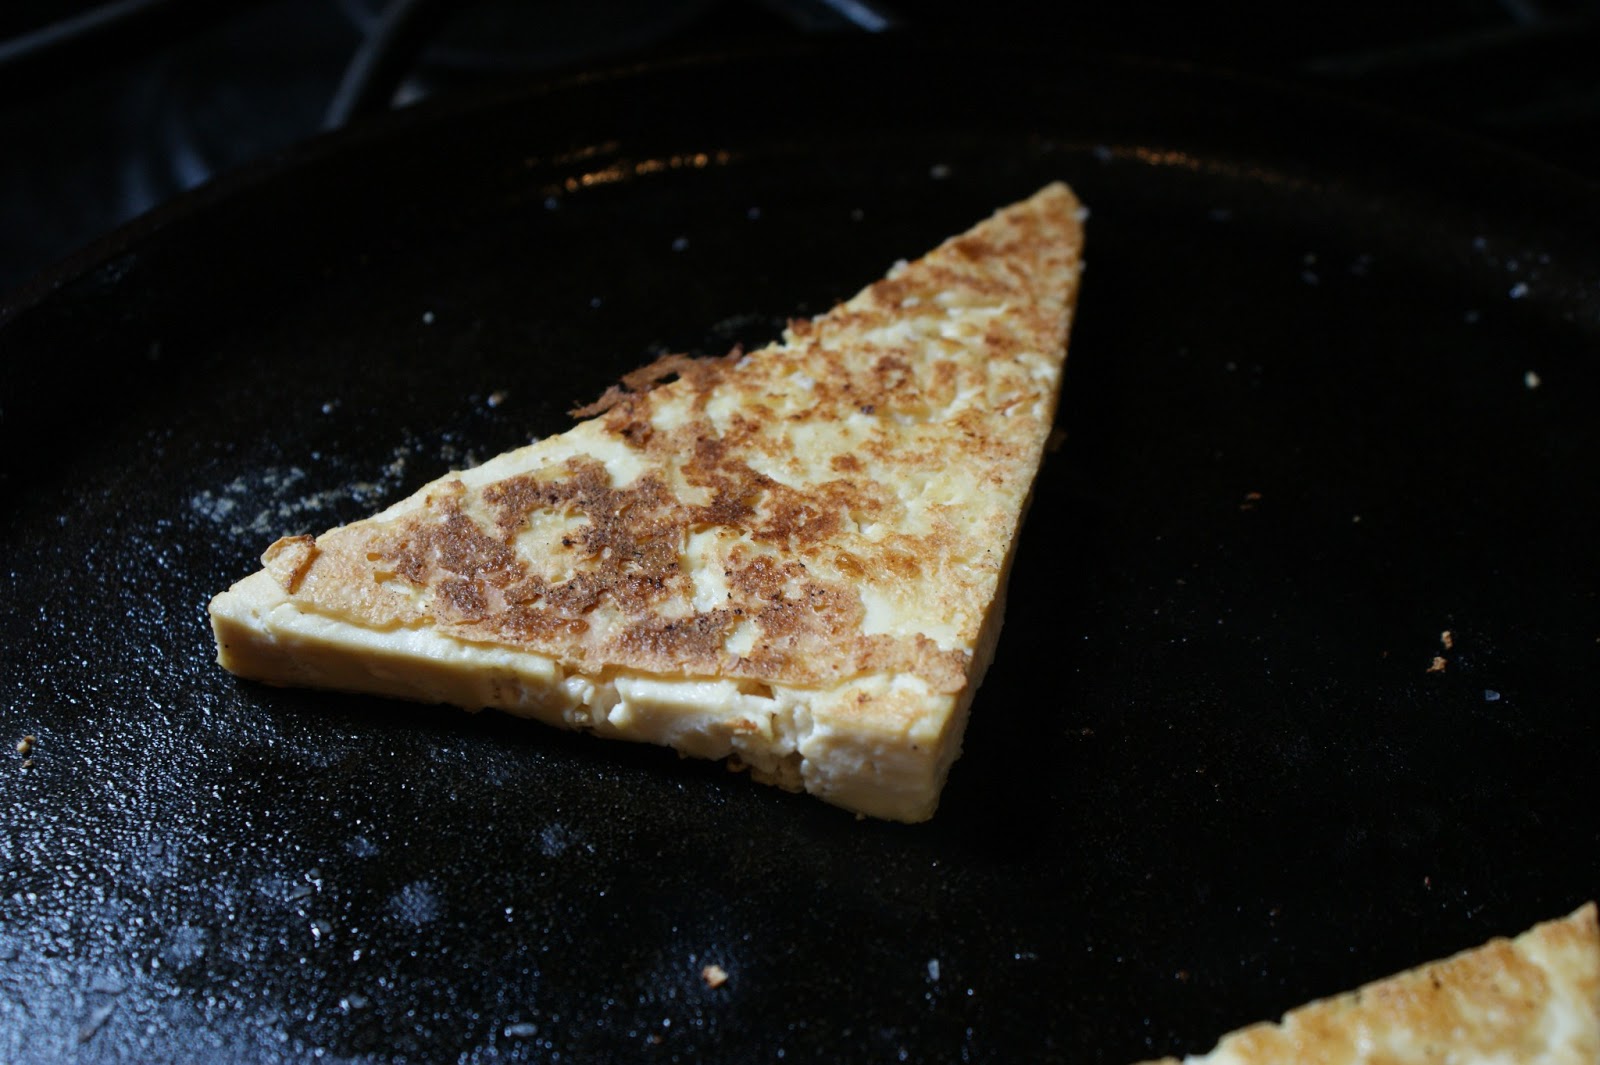
Simple Sautéed Tofu

Baked Sweet and Spicy 'Fu

Homestyle Sweet and Spicy Marinade

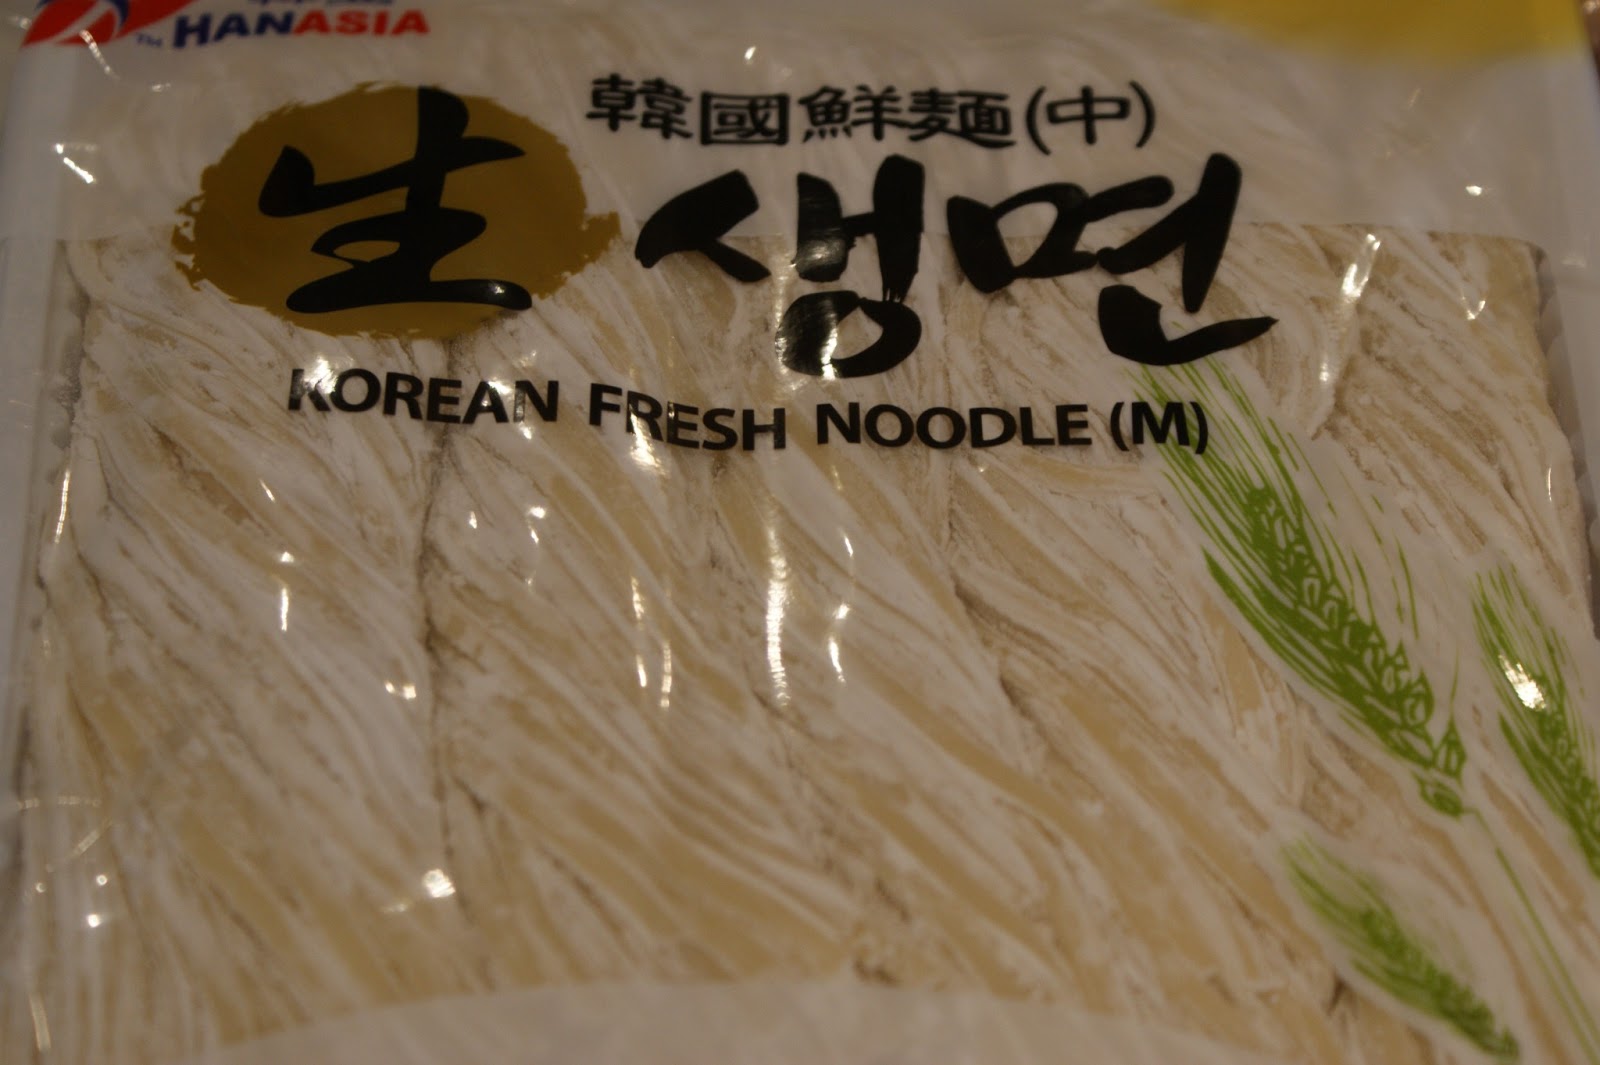
Korean Fresh Noodles for the Noodle Salad 
(noodles are from the Asian Market in Cherry Hill):


Korean Fresh Noodle Salad with Red peppers, Scallions, Sesame Seeds 
(Cilantro, optional!)
Of course, I forgot to serve the black sesame seeds in class!

Dawn's Easy Asian Dressing:
I mixed this in a measuring cup, then poured it into a re-purposed Wegmans Rice Vinegar bottle (with a shaker top) so it can be used to refresh the noodle salad as needed!

Techniques:
Properly Pressing Tofu (with and without a tofu press)
Using Cast Iron Cookware

Proper Pressing:
Proper Pressing Without a Press: post coming soon!  But, if you don't want to make laundry AND dishes when making your tofu, you'll probably want...

The TofuXpress :-)
I love my TofuXpress!  

Cast Iron Cooking:
Don't be afraid!  

A Vegan Tasting: Vegan Chocolate Chips!
The Contenders: Whole Foods 365 semi-sweet chips, Wegmans semi-sweet chips, Ghirardelli semi-sweet chips, Enjoy Life semi-sweet Mega Chunks and Trader Joe's semi-sweet chips.  The results were surprising! View the blog post and *video* here!

Thanks so much for a great class, everyone!
Thank you for making me a plate, Jeannie :-)


I can't wait to host Class #2! 

I have a ton of ideas...

XOXO